Miter Saw Stand / Cabinet

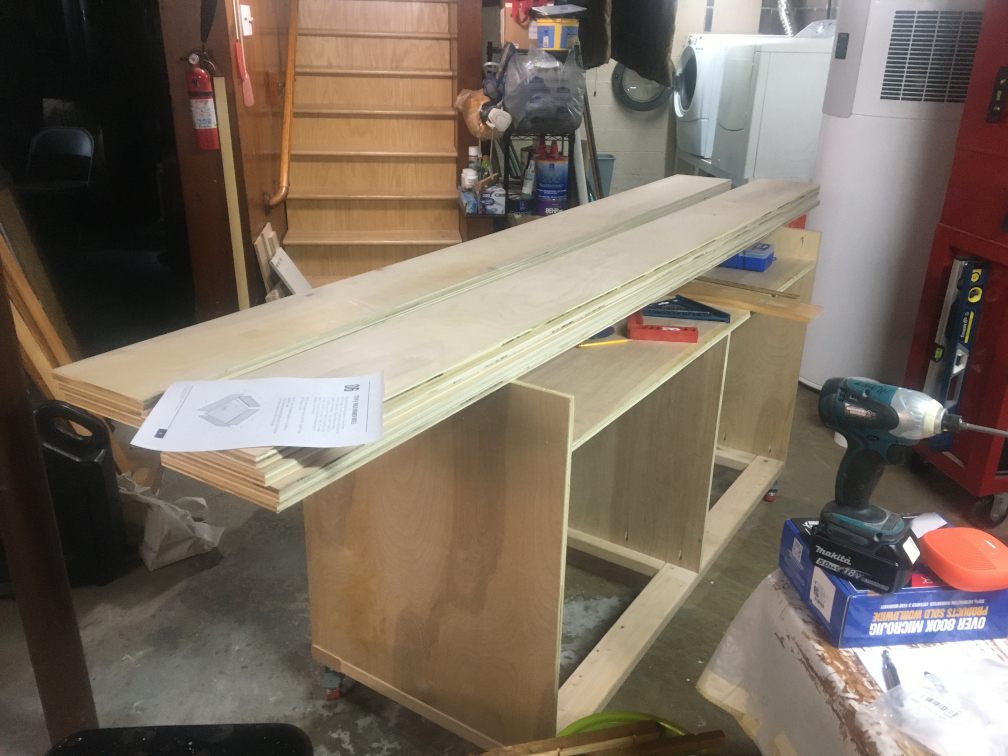
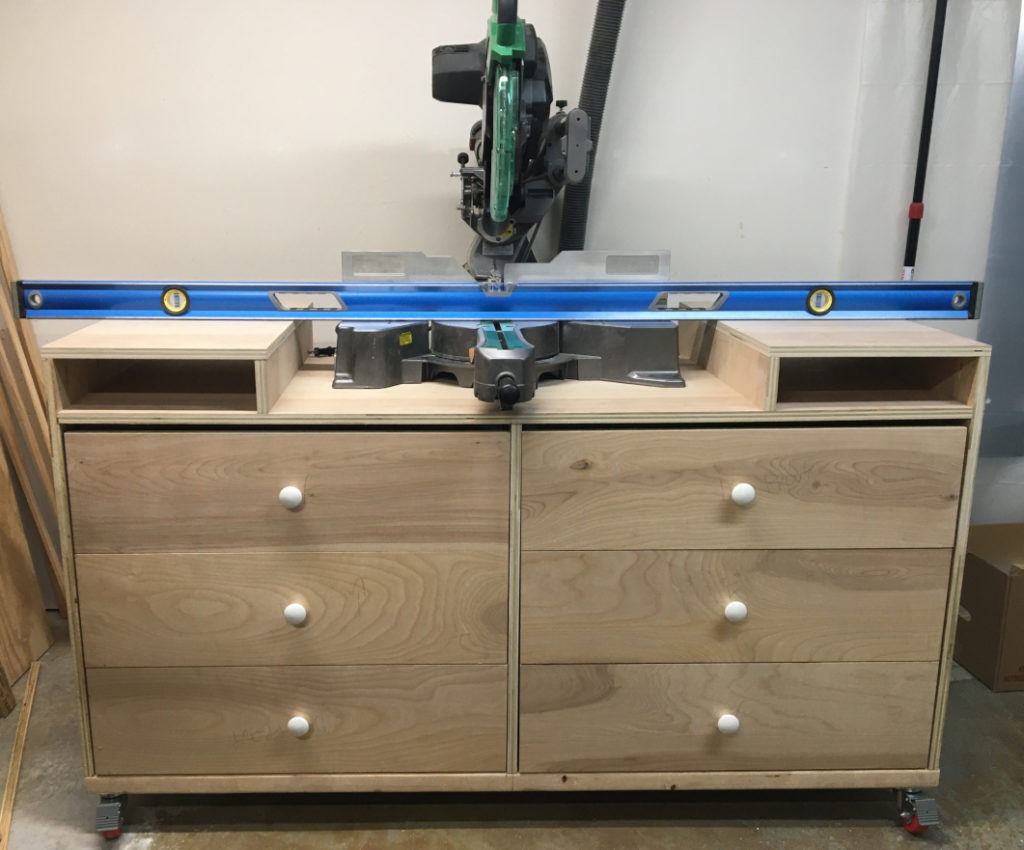
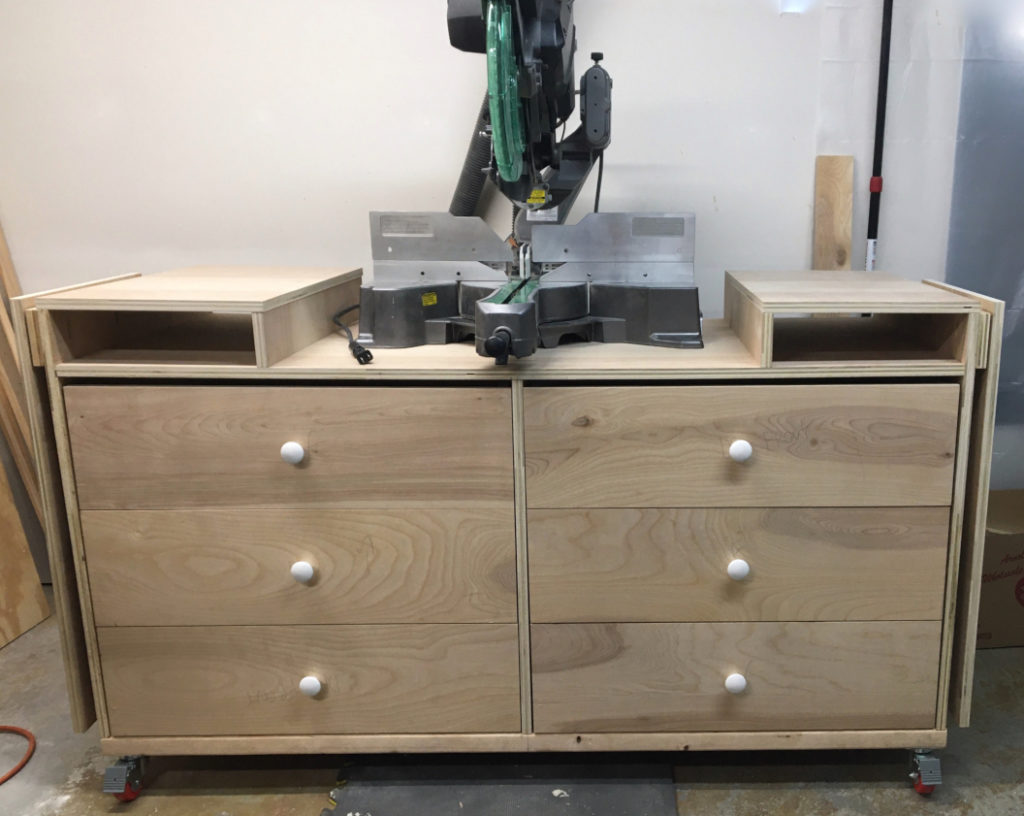
Working on improving the use of space in the basement workshop led me to building some additional storage and work areas. The first project I tackled was building a stand for my miter saw. The current job site one I was using wasted all of the space underneath it. After some searching for inspiration I found this project:

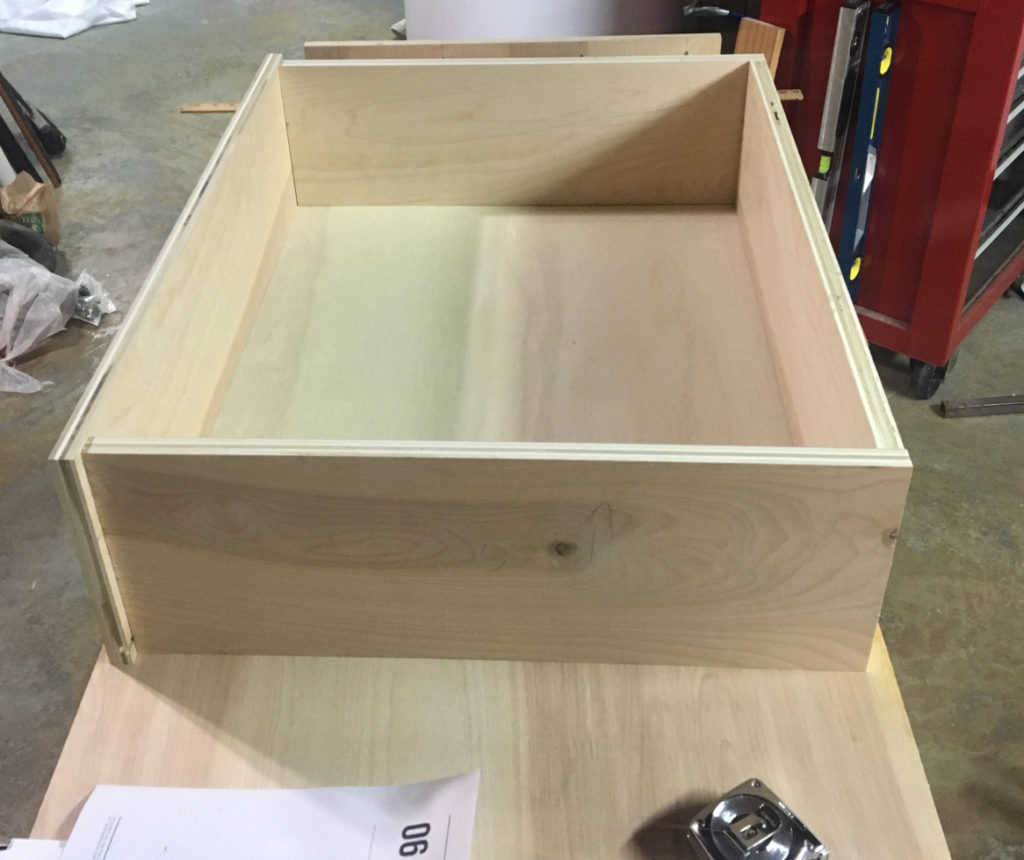
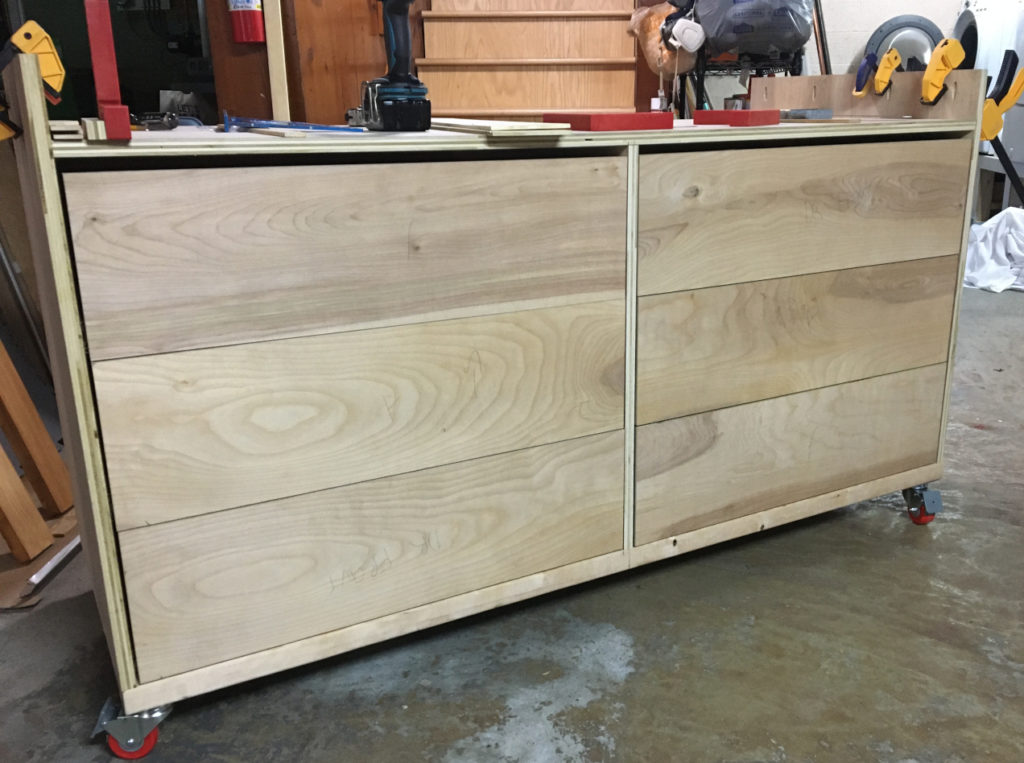
Looking at the work Shara put into it I sent her some money, and she sent me some well built plans. This was a fun project, and well worth the time invested as the storage space was very much needed in the drawers, and also being able to roll it out of the shop space when needed to use the floor space for something else temporarily.

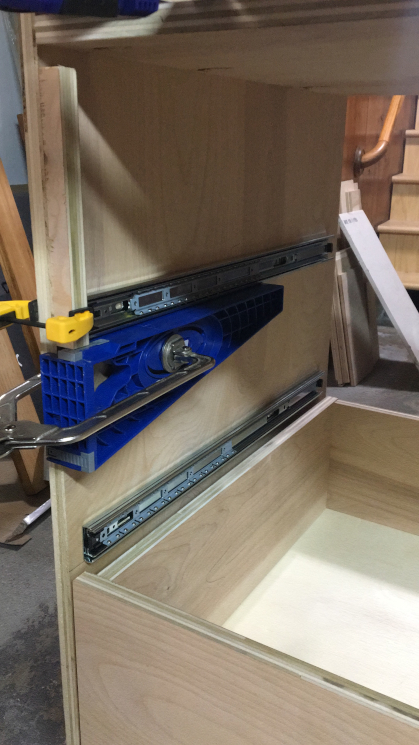
Some other helpful resources I used for installing the drawers were:

https://www.ana-white.com/blog/2020/02/how-install-full-extension-drawer-slides

How to Install Drawer Slides

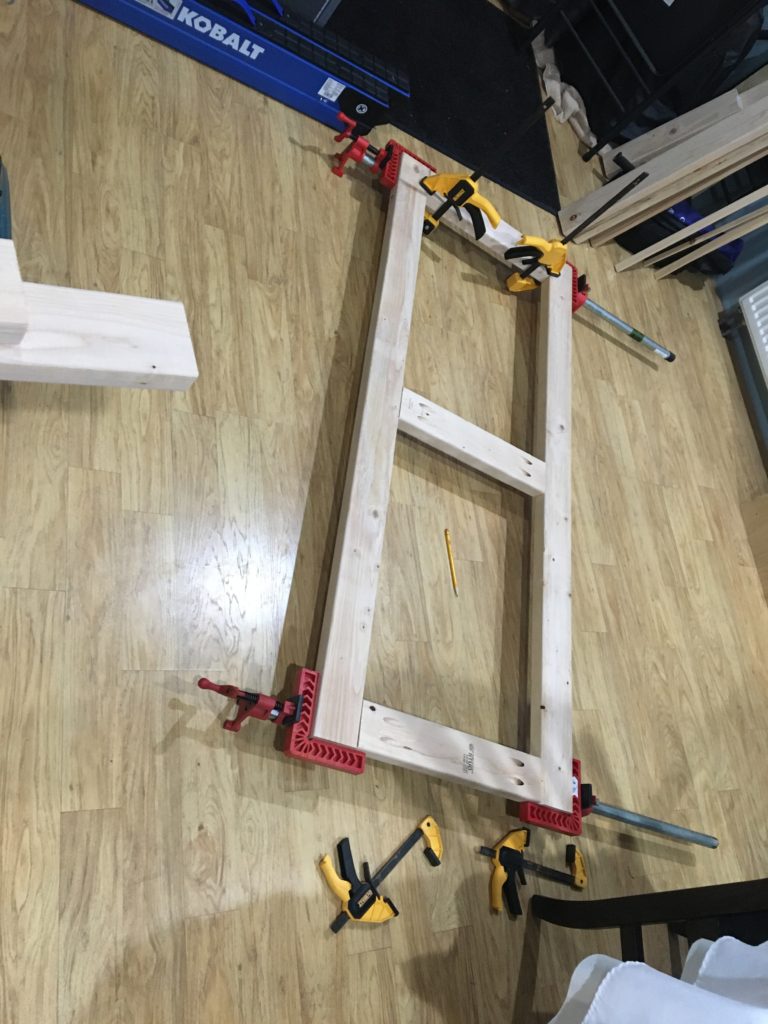
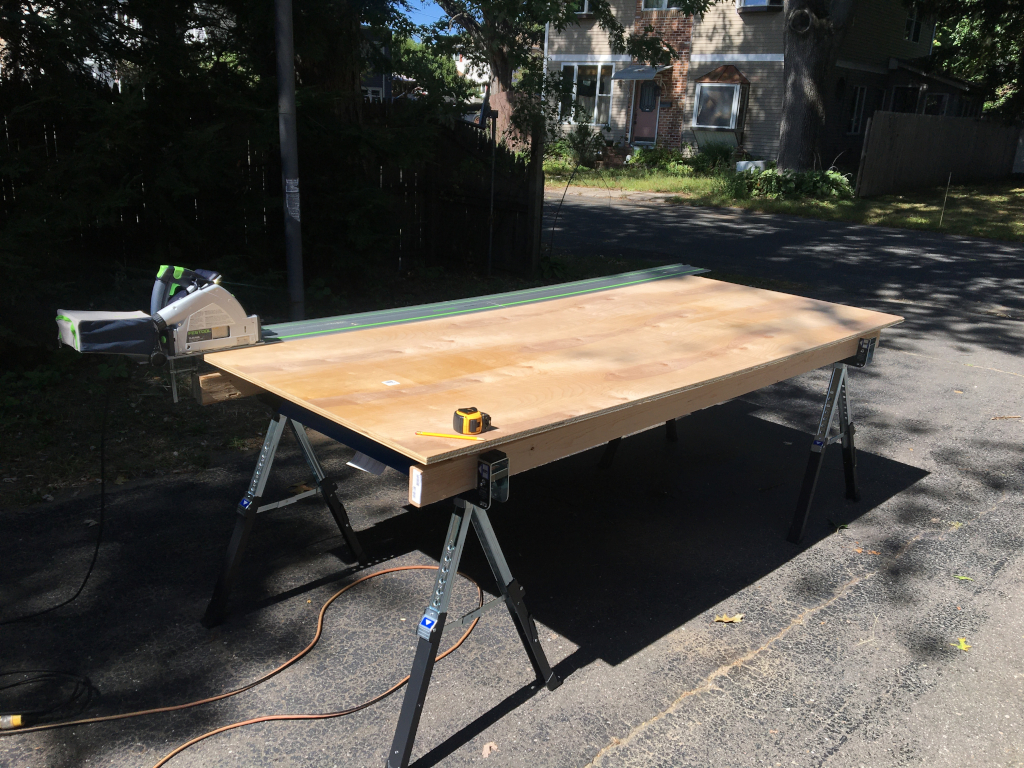
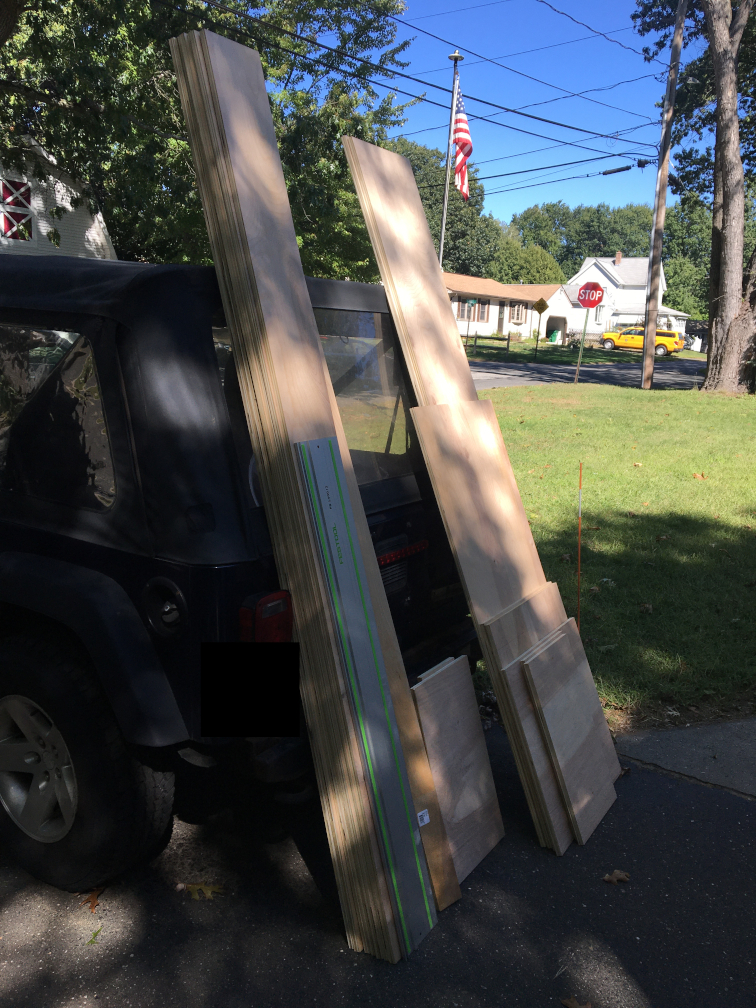
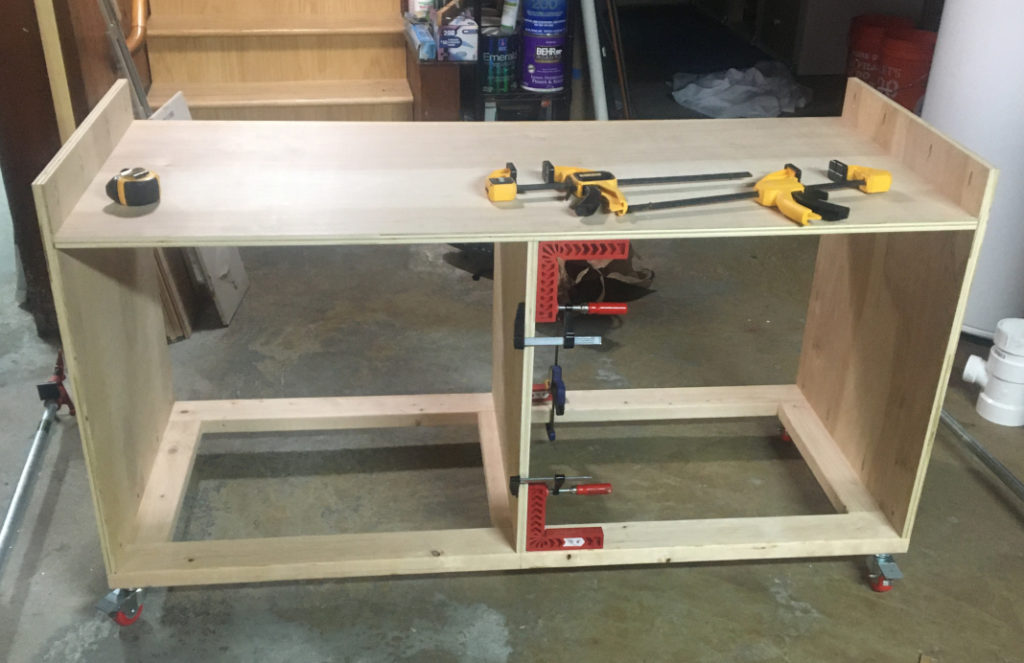
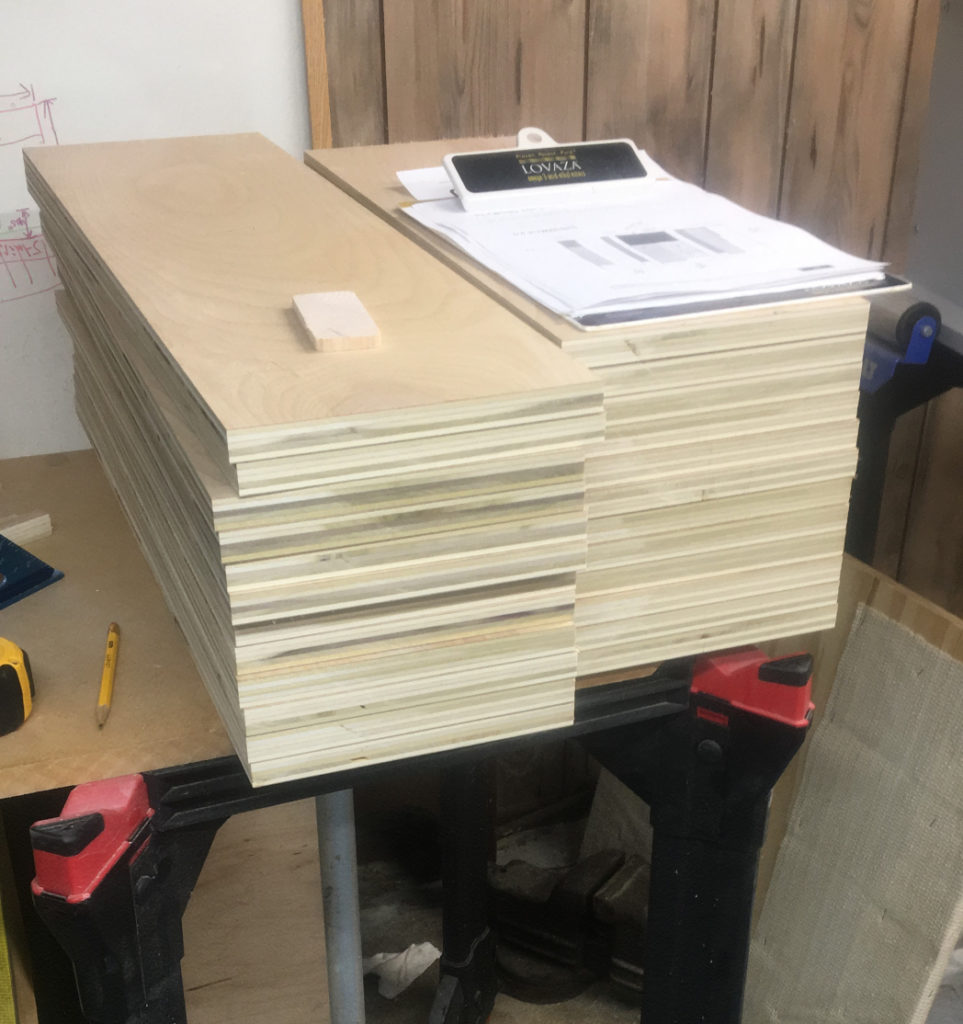
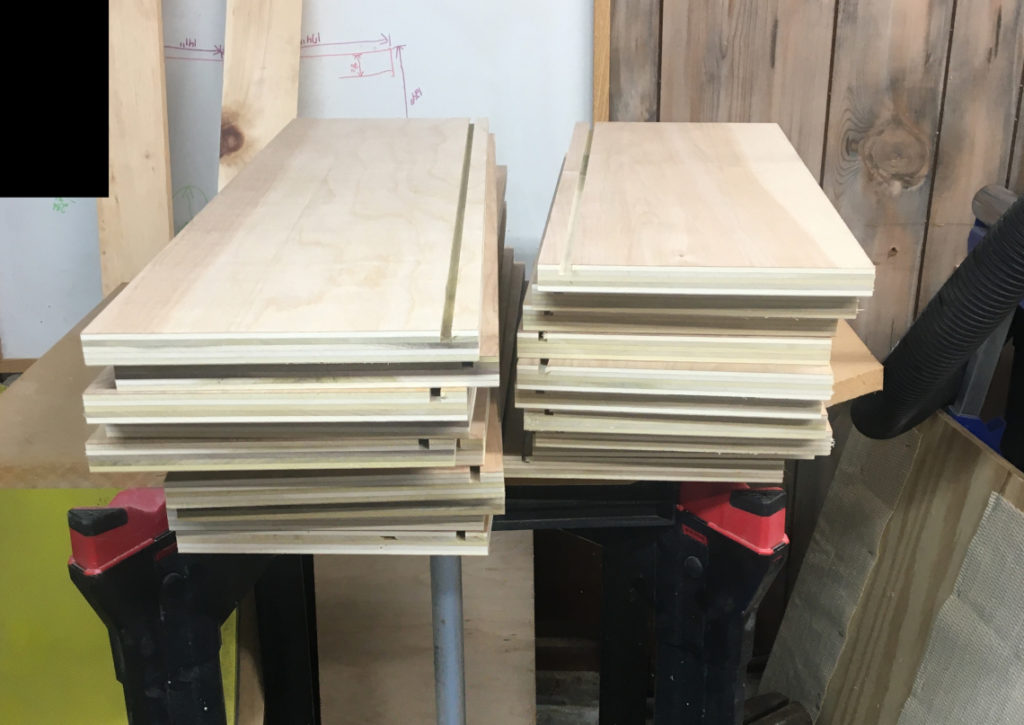
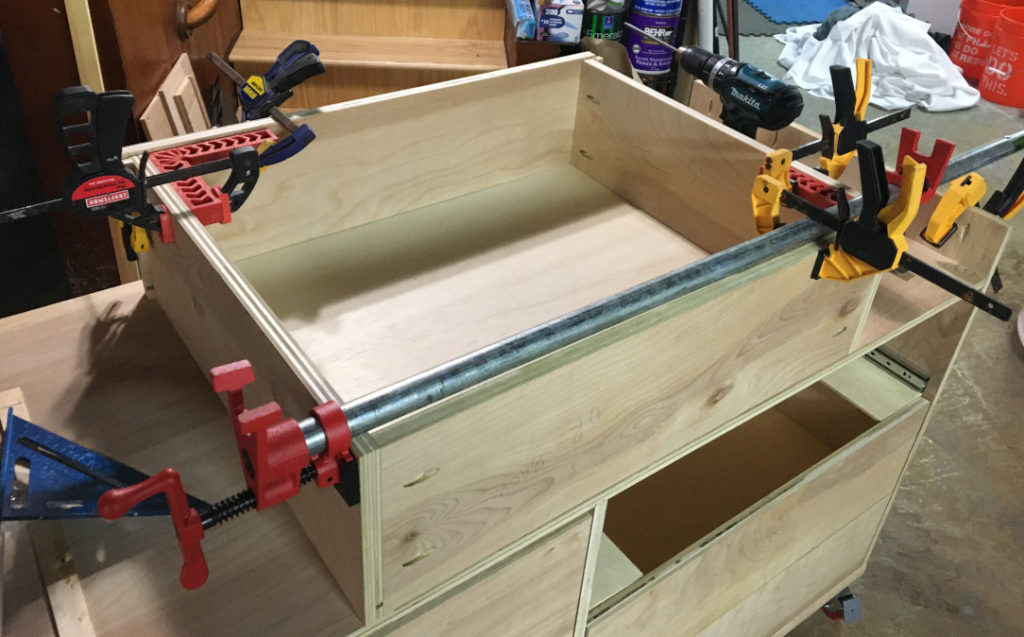
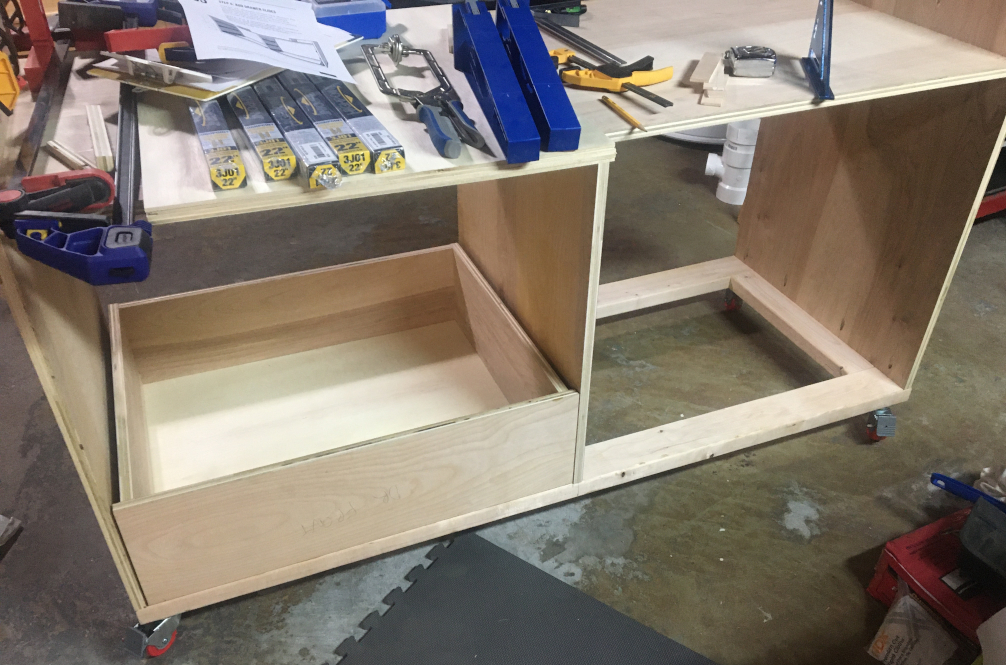
Here are my pictures from sheets of plywood and a couple of 2×4’s to working unit:

Building the base frame
First stage of cutting complete
Base frame assembled and squared up
Drawer pieces going into the miter saw
Drawer pieces chopped down to size
Dado routed into all of the drawer pieces
Starting to put them together
Lot’s of learning on my part about clamping and trying to keep this perfectly square. It got more efficient as the drawers progressed. 🙂
First drawer in – learned a lot about how to get drawer rails in
The Kreg drawer slide jig was extremely helpful here.
Drawers all built and installed – need to fix the slide alignment to give a little more room between the drawers – my method of spacing had a bit of a flaw in it
Cubby tops built, and pretty darned flush across the surfaces using a 6′ level
Extensions wings for supporting longer lumber installed and adjusted for a full flush surface across a 10′ span (still have to fix the drawer spacing)