GIT – GPG Signing Key Setup (importing old keys) on Windows 10

Setting up a new computer this week ran me smack into a wall of not remembering how I got my GIT + GPG signing key working the 1 time I managed to get it working previously. After piecing together a few articles I am putting this consolidated article together to hope it helps someone else (or me next computer 🙂 )

Download and Install GPG4Win:
https://gpg4win.org/get-gpg4win.html
You do not need anything besides the base GPG tools, none of the service stuff.

Install Git For Windows:
https://gitforwindows.org/
This gives you a *nix based shell, this software is a bundle with latest version of Git which use MINGW environment, a Git bash shell, a Git GUI and an extension for Windows Explorer shell (Make sure your local version of Git is at least 2.0, otherwise Git don’t have support for automatically sign your commits)

Importing Old Keys:
Once GPG is installed, you can pull in your private key that you previously had:
gpg --import <PRIVATE-KEY>

Remember to wrap the private key argument in quotes if your path has a space in it. You should be prompted for your passphrase for the key. Once that is complete you should be able to see the keys by running (we want the long format for later use):
gpg --list-secret-keys --keyid-format LONG

Example output:
$ gpg --list-secret-keys --keyid-format LONG
/c/Users/jaudet/.gnupg/pubring.gpg
sec rsa4096/12345678ABCDEF 2020-04-17 [SC]
uid [ultimate] Joe Audet joe@joeaudet.com
ssb rsa4096/01964857563FGF 2020-04-17 [E]

Trust Key ( https://www.gnupg.org/gph/en/manual/x334.html )
gpg --edit-key 12345678ABCDEF
trust

Select a trust level (Since I made the key I went with 5 or ultimate, use caution when trusting others keys)

Setup GIT Global parameters
In GIT Bash, execute the following commands (the username and email must match what was used in github):
git config --global user.name "username"
git config --global user.email "email"

git config --global gpg.program "C:/Program Files/Git/usr/bin/gpg.exe"
git config --global user.signingkey 12345678ABCDEF
git config --global commit.gpgsign true


Miter Saw Stand / Cabinet

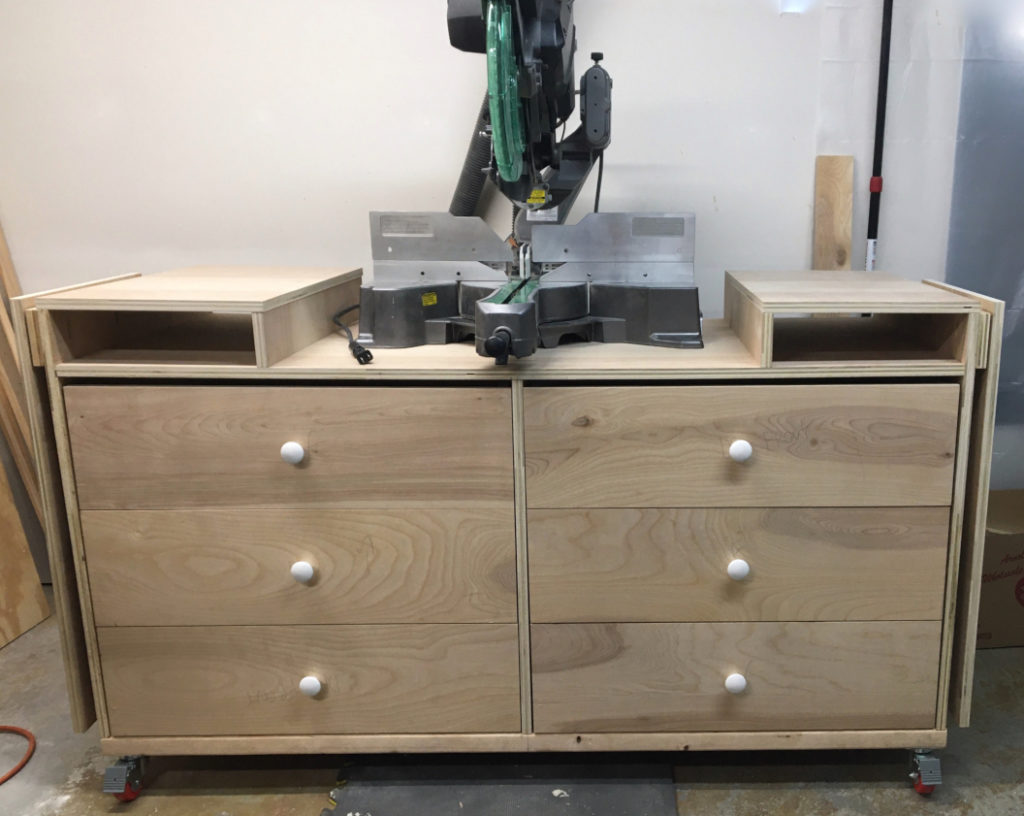
Working on improving the use of space in the basement workshop led me to building some additional storage and work areas. The first project I tackled was building a stand for my miter saw. The current job site one I was using wasted all of the space underneath it. After some searching for inspiration I found this project:

Looking at the work Shara put into it I sent her some money, and she sent me some well built plans. This was a fun project, and well worth the time invested as the storage space was very much needed in the drawers, and also being able to roll it out of the shop space when needed to use the floor space for something else temporarily.

Some other helpful resources I used for installing the drawers were:

https://www.ana-white.com/blog/2020/02/how-install-full-extension-drawer-slides

How to Install Drawer Slides

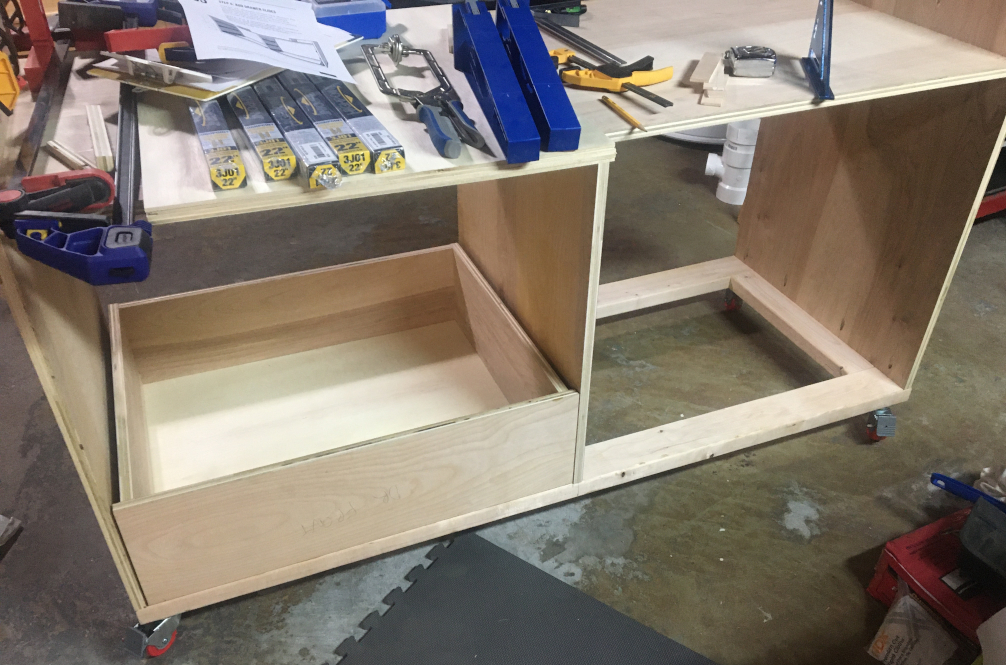
Here are my pictures from sheets of plywood and a couple of 2×4’s to working unit:

Building the base frame
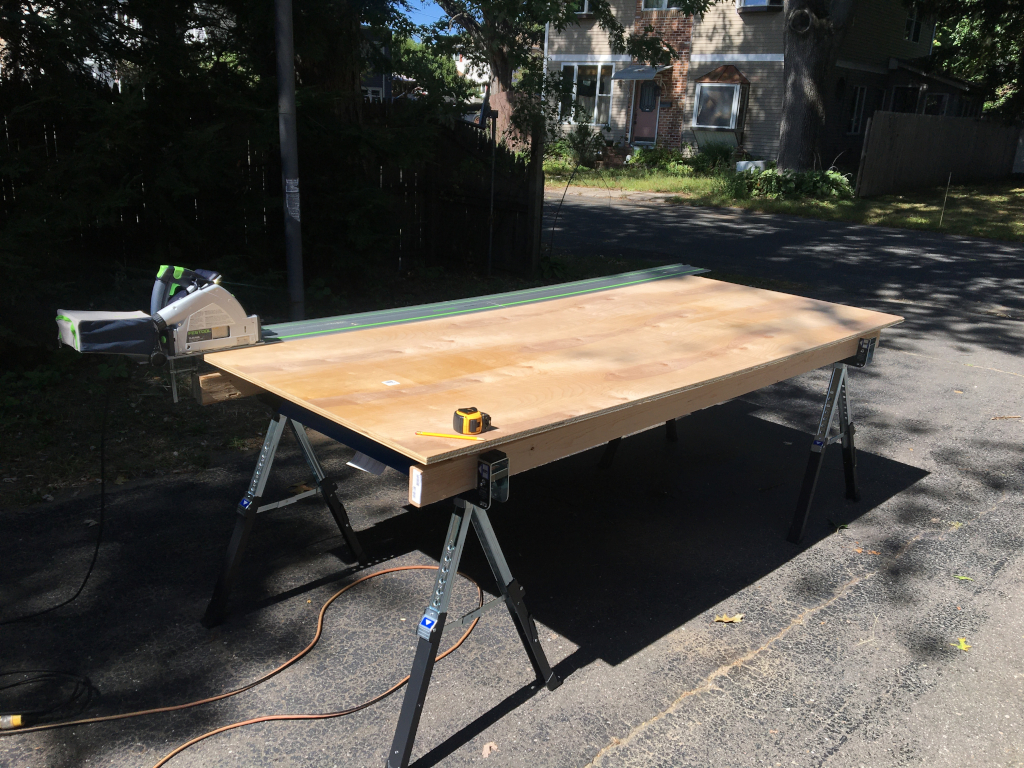
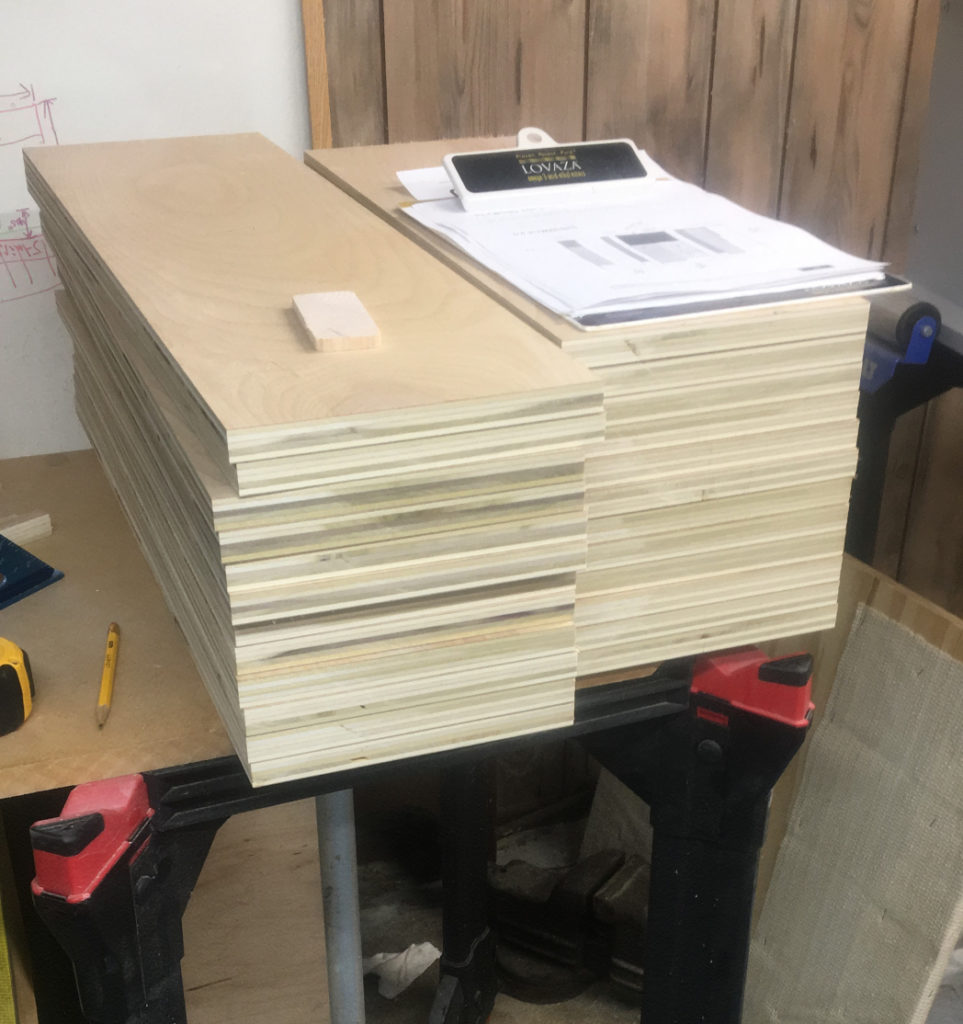
First stage of cutting complete
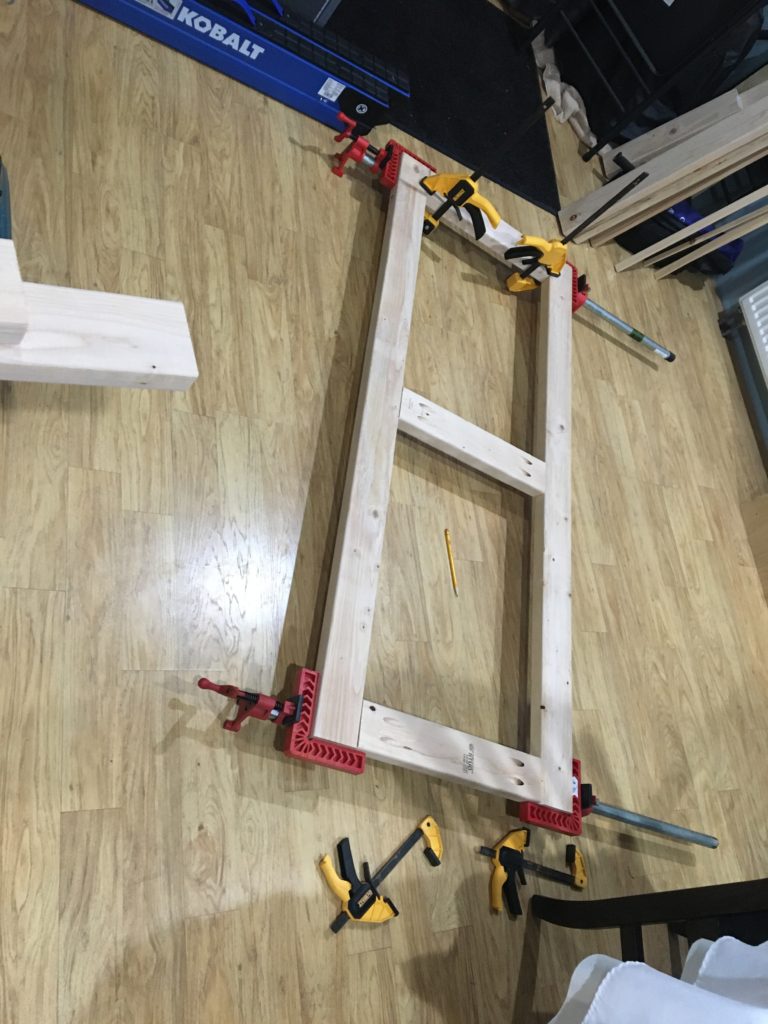
Base frame assembled and squared up
Drawer pieces going into the miter saw
Drawer pieces chopped down to size
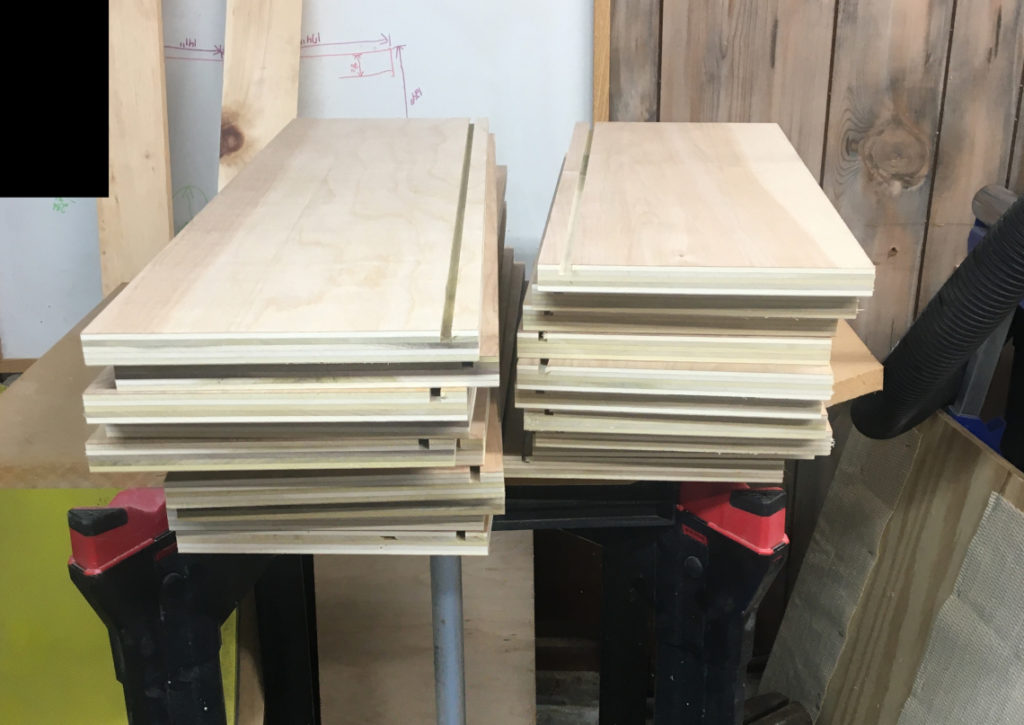
Dado routed into all of the drawer pieces
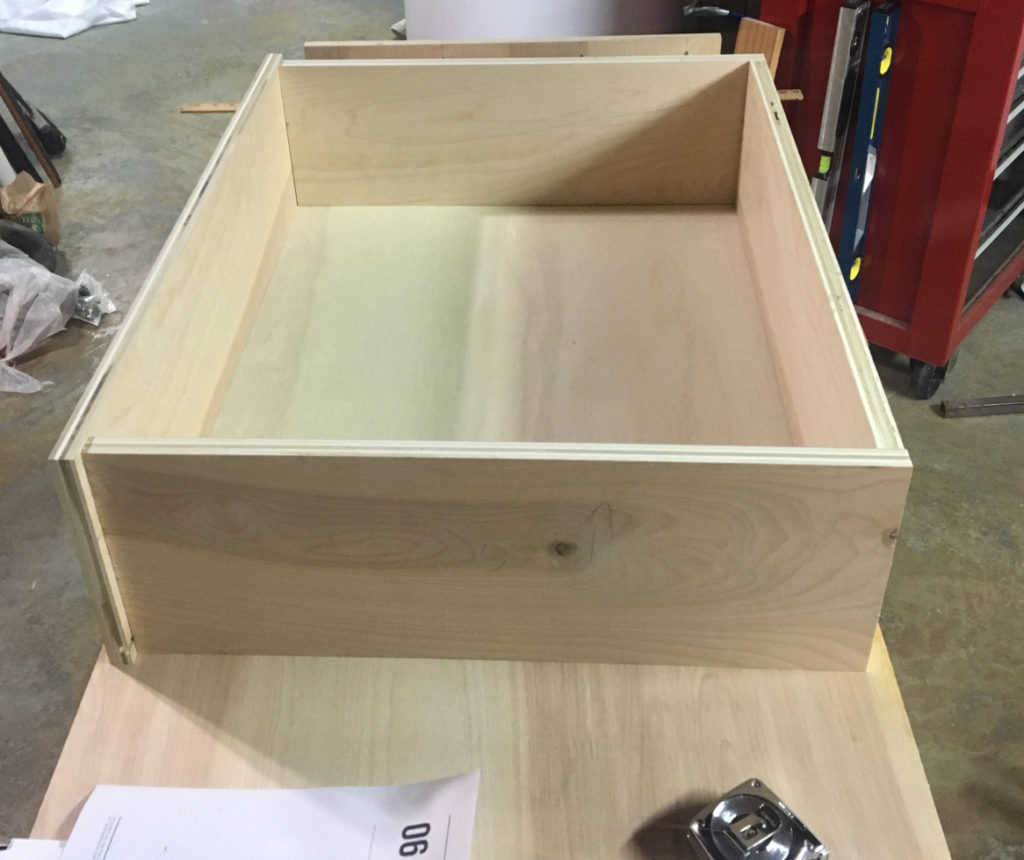
Starting to put them together
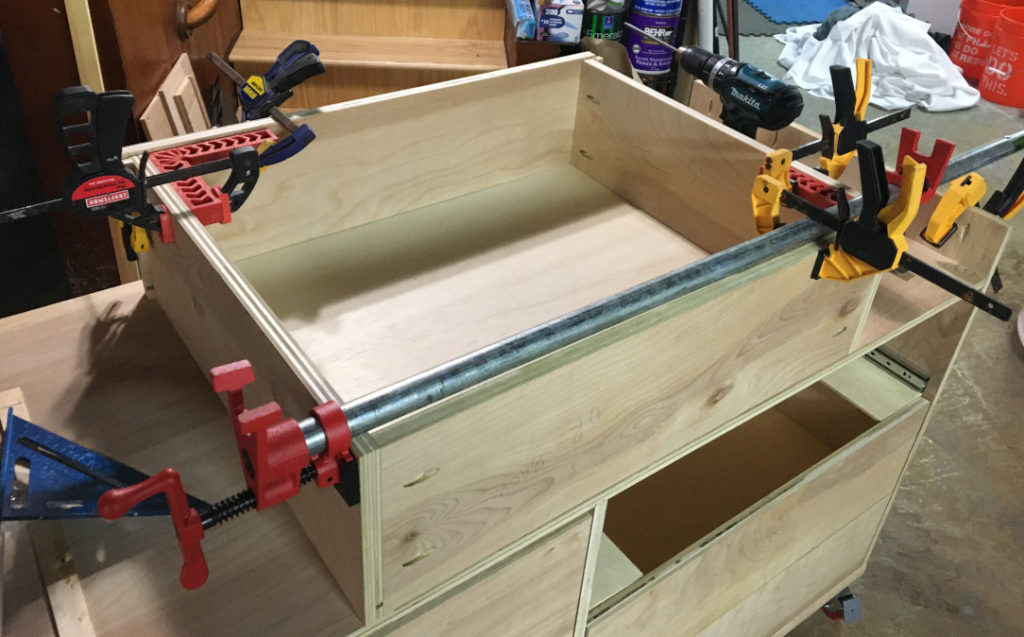
Lot’s of learning on my part about clamping and trying to keep this perfectly square. It got more efficient as the drawers progressed. 🙂
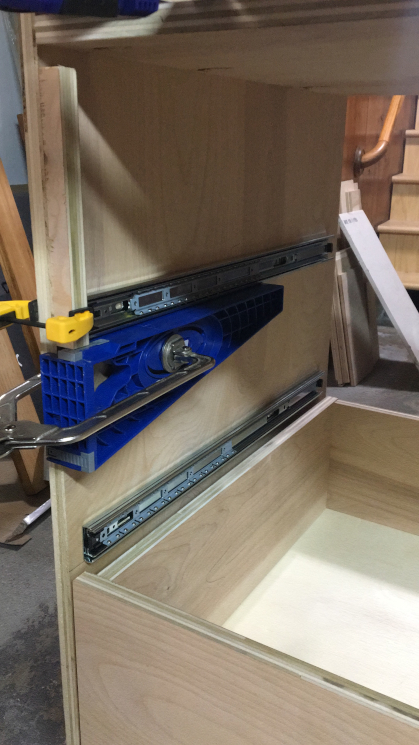
First drawer in – learned a lot about how to get drawer rails in
The Kreg drawer slide jig was extremely helpful here.
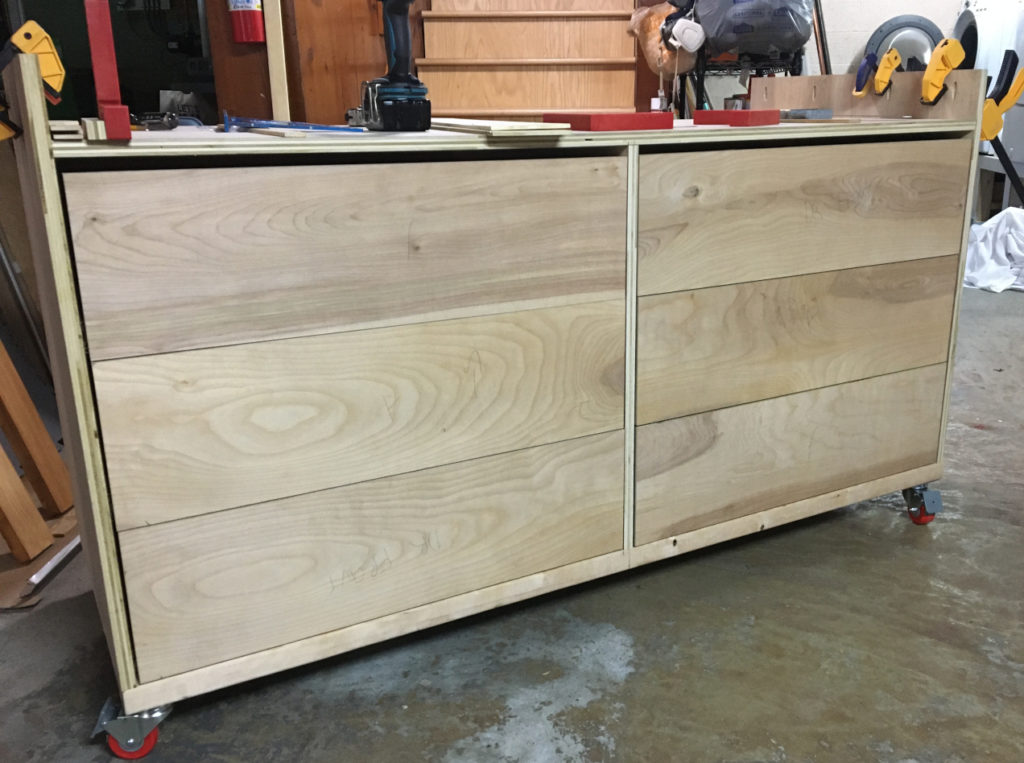
Drawers all built and installed – need to fix the slide alignment to give a little more room between the drawers – my method of spacing had a bit of a flaw in it
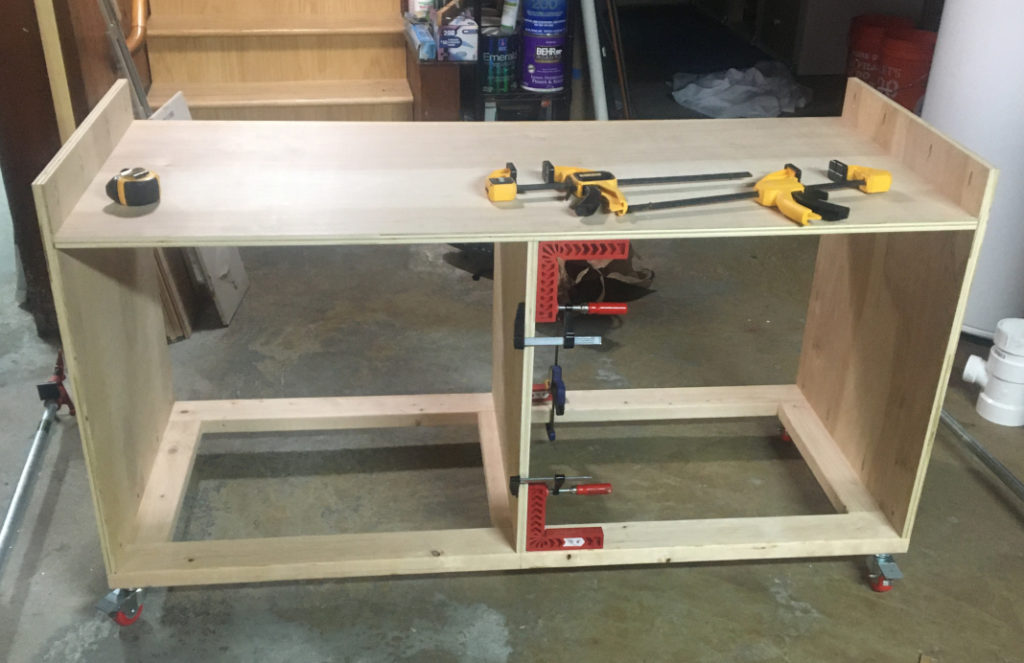
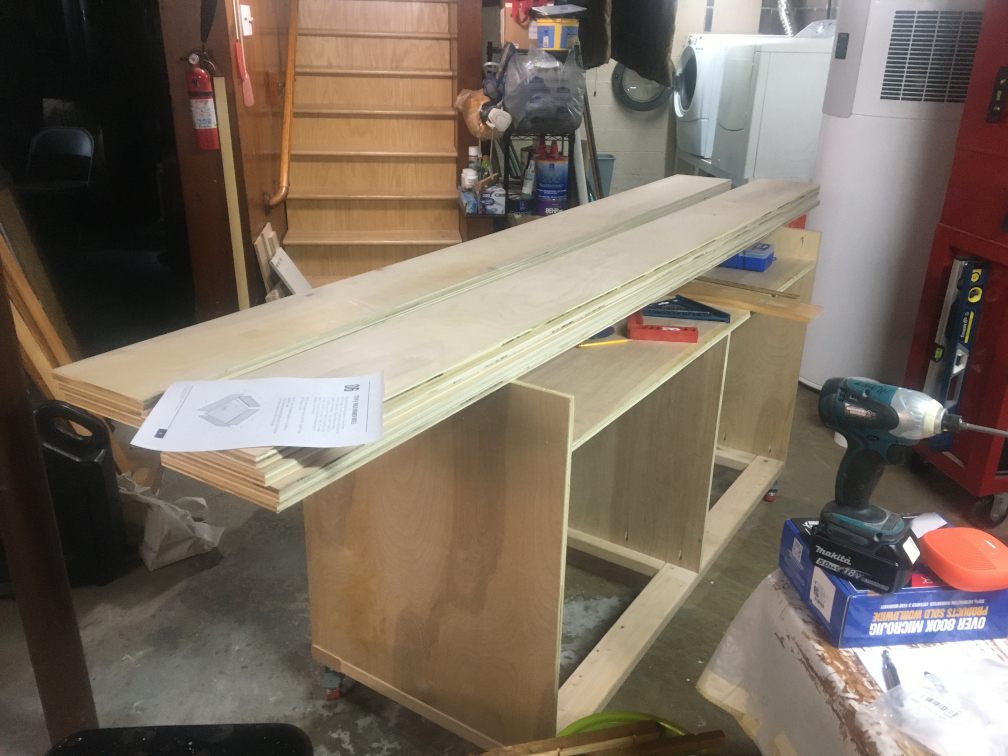
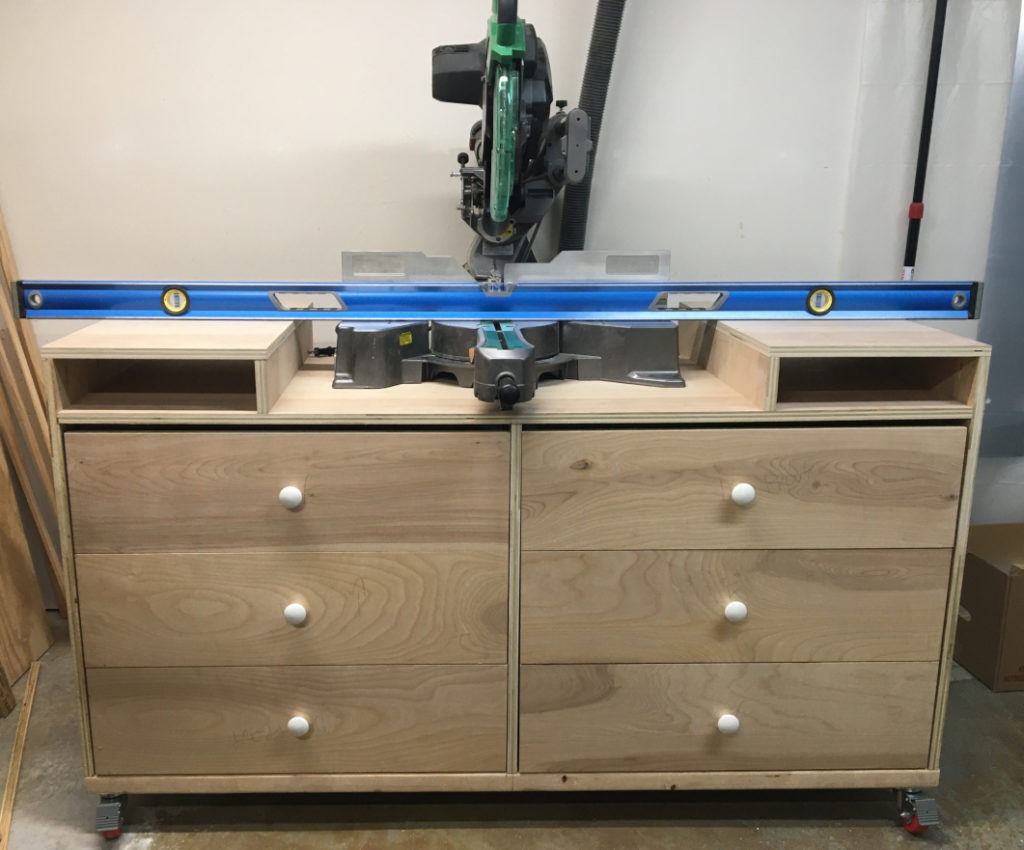
Cubby tops built, and pretty darned flush across the surfaces using a 6′ level
Extensions wings for supporting longer lumber installed and adjusted for a full flush surface across a 10′ span (still have to fix the drawer spacing)

Hangboard project

As someone who enjoys indoor rock climbing at a gym as their choice of regular exercise I wanted to continue to develop my hand strength. Reading the “Rock Climbers Training Manual” led me to want to build my own hangboard at home to match what we had in the gym using the Rock Prodigy Training Center by Trango.

Some of the requirements were:

  • Able to accommodate different height users (I am a little over 6′ with a long reach)
  • Adjust to handle different shoulder widths
  • Able to handle my 300lb body weight
  • Able to handle the counterweight system to allow for safe training
  • Be removeable easily to be brought inside when not in use (frame is outdoor)

I decided to build an outdoor frame to meet the support structure requirements for the above list. Below are the details I used to build my setup:

  • Material and Cut List
  • Dimensional drawings

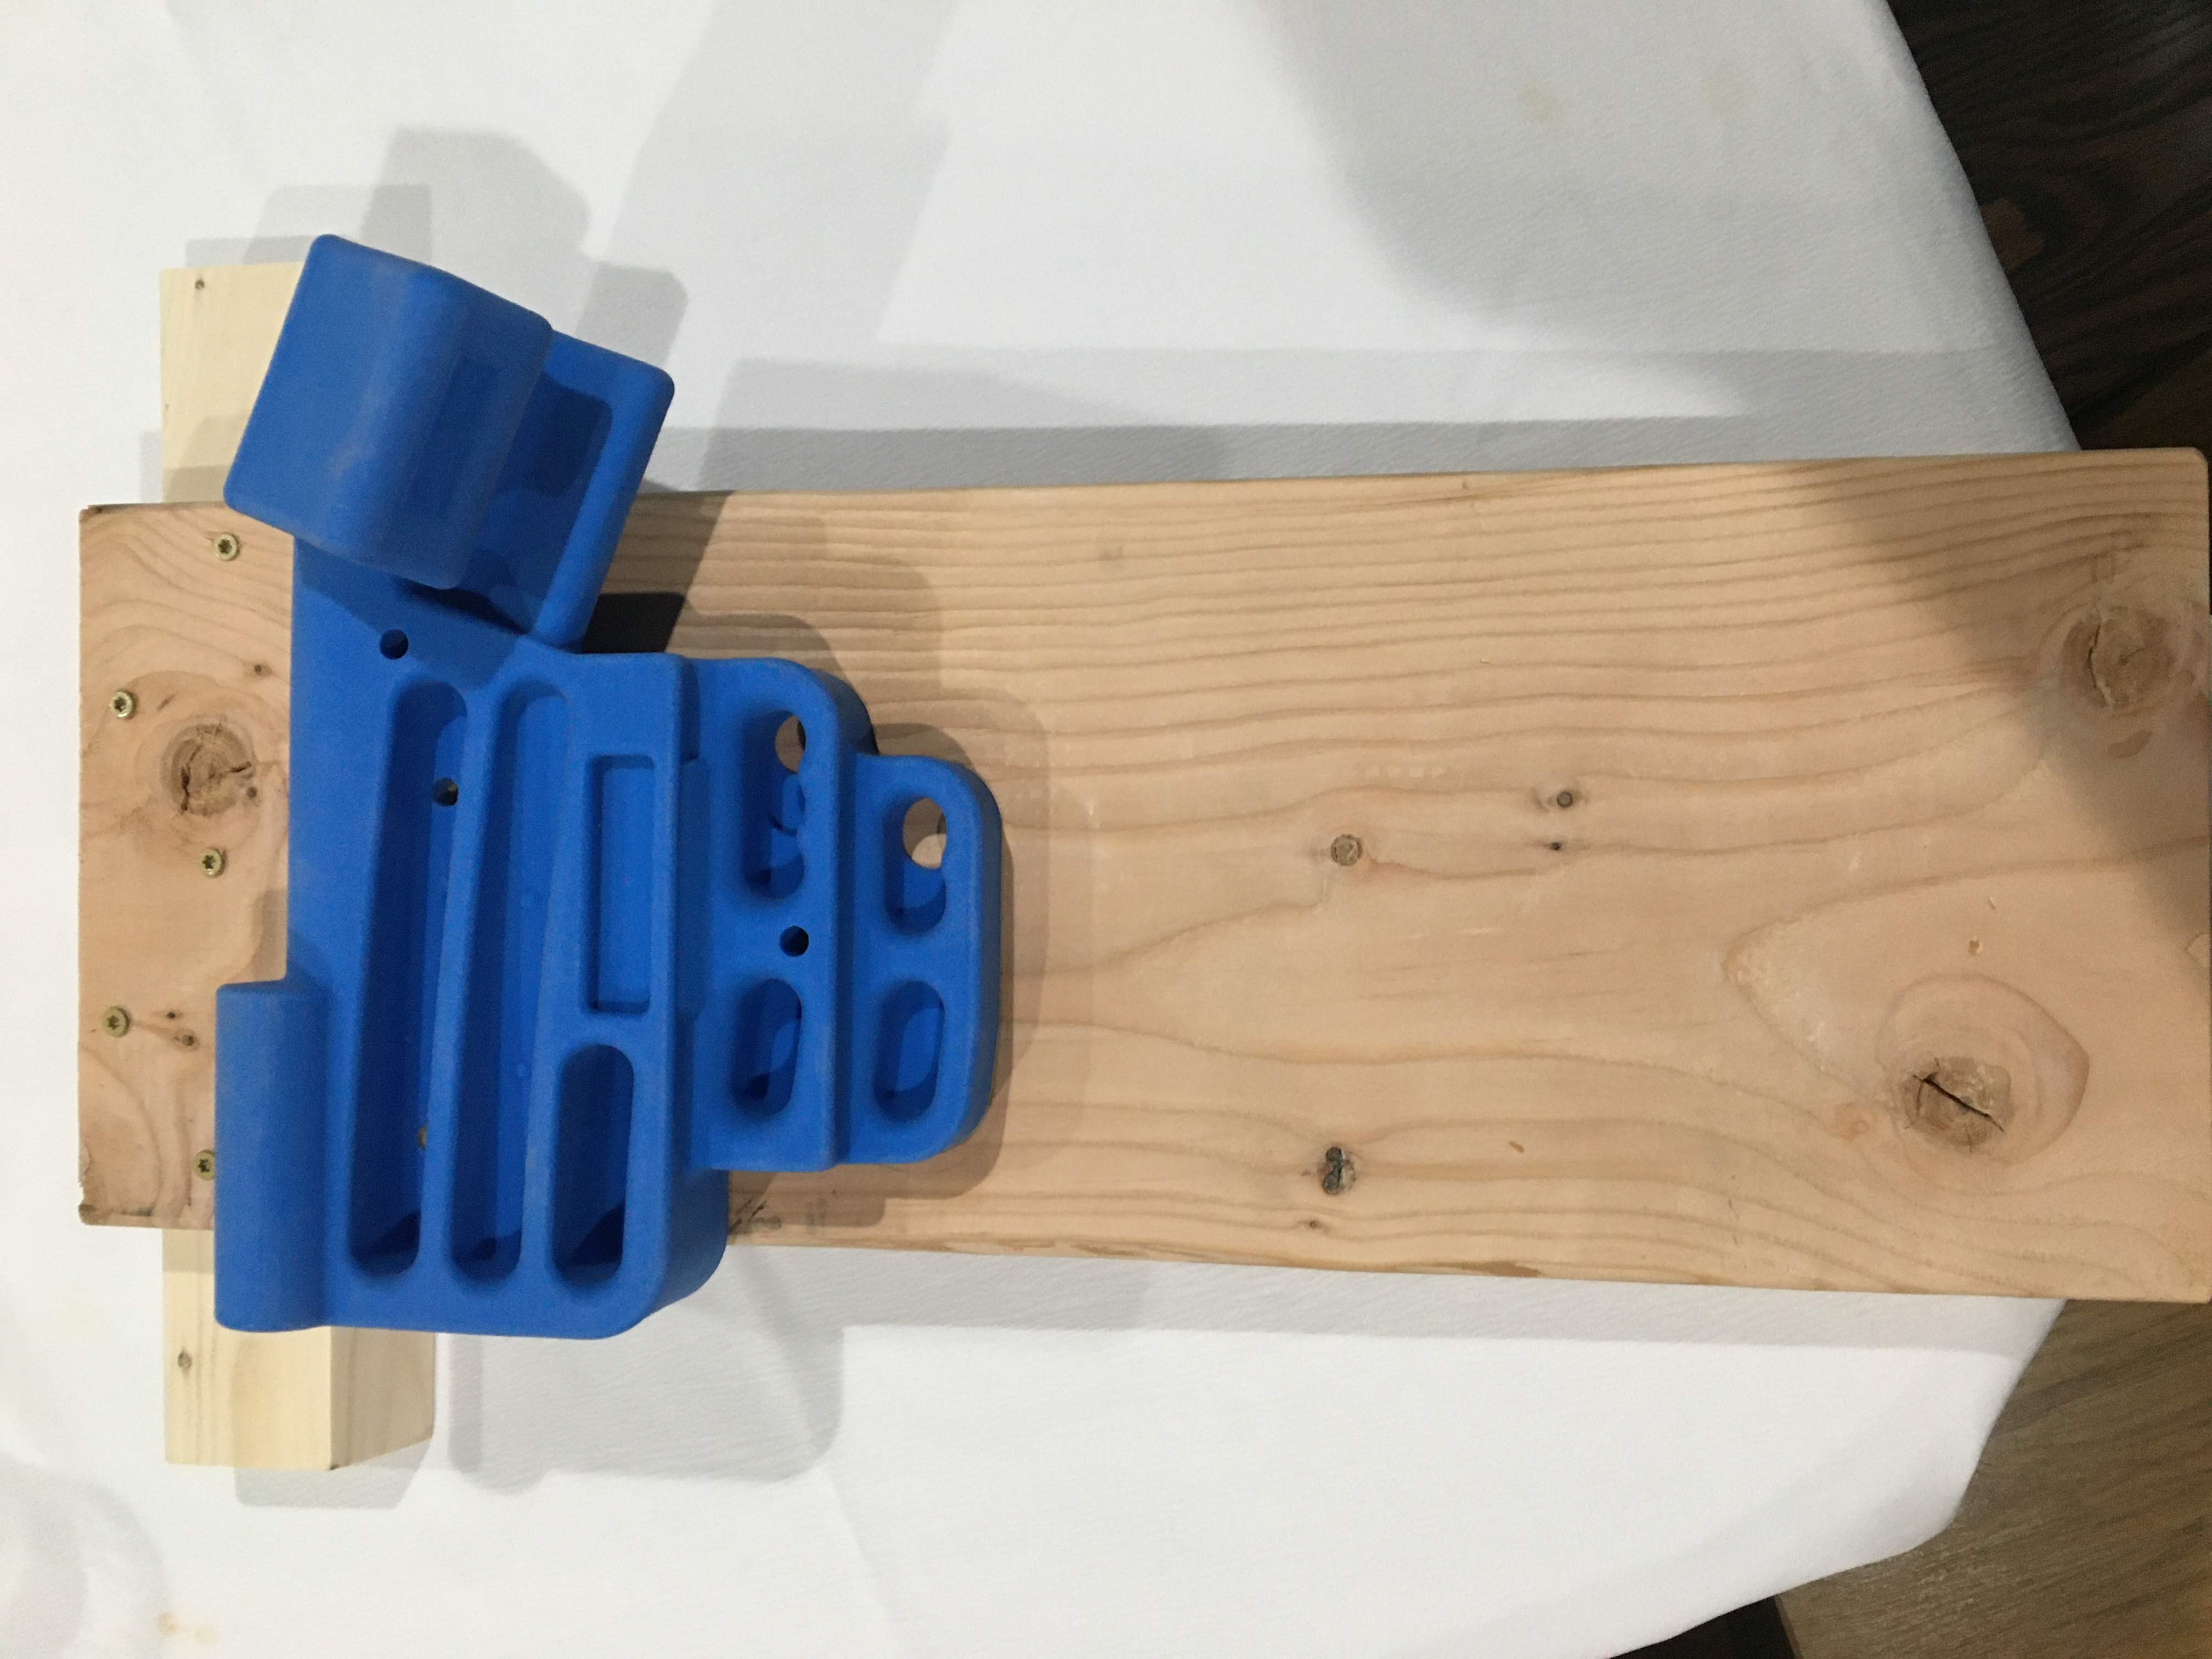
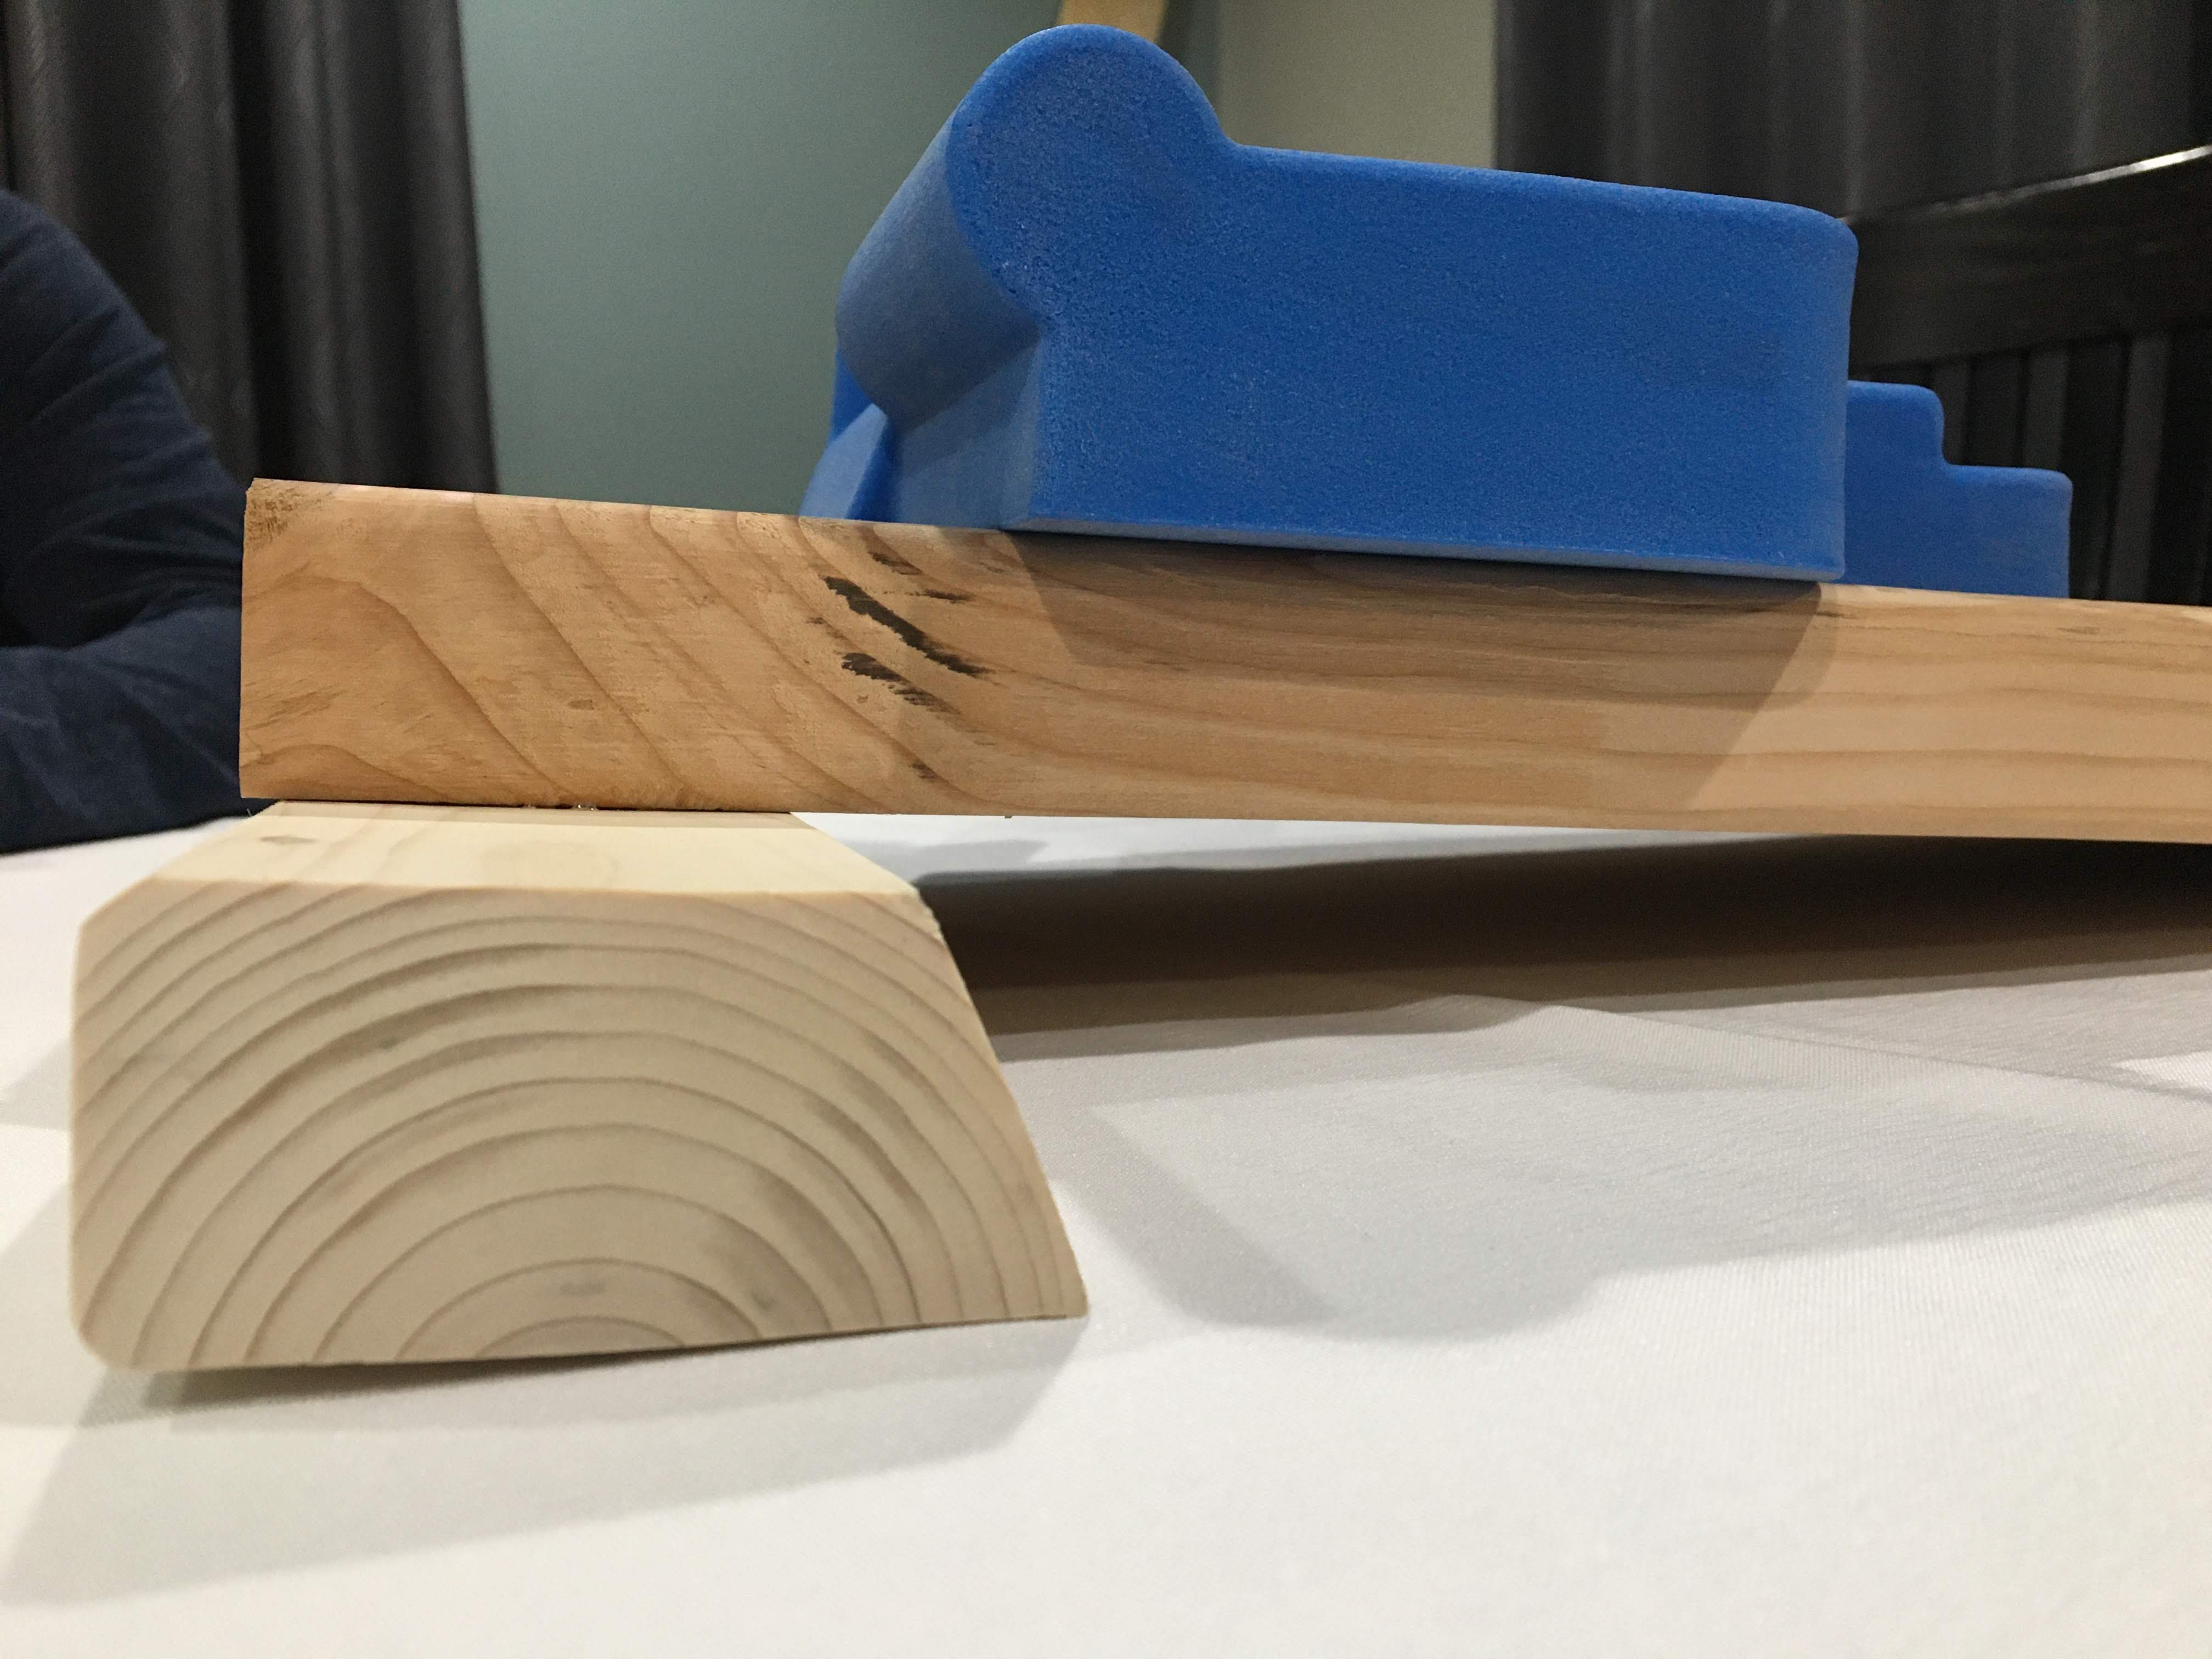
Here are the pictures of the project: